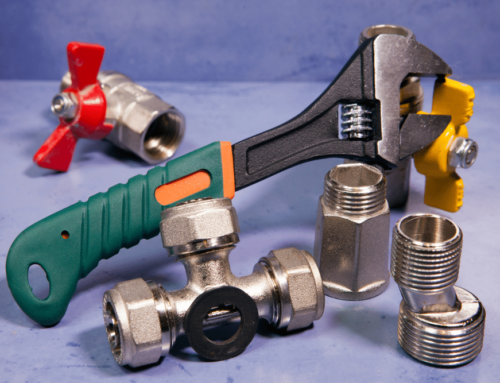
How to Remove a Garbage Disposal?
Removing a garbage disposal unit from your kitchen sink is a practical DIY project that can be done without the need to hire a professional plumber. Following a systematic process ensures a safe and efficient removal. Here’s how you can remove a garbage disposal:
Image: How to Remove a Garbage Disposal
1. Shut Off the Power Supply:
Before starting, it is vital to ensure that the power supply to the garbage disposal is turned off. Do this by shutting off the power supply from the circuit breaker or electrical service panel. Confirm that the power has been disconnected by trying to turn on the garbage disposal.
Image: Shut Off the Power Supply
2. Disconnect the Electrical Connection:
If the garbage disposal is plugged into a wall socket, unplug it. If it’s hardwired to your home, use a screwdriver to remove the plate covering the wire connections on the disposal, disconnect the wires, and then remove the plate covering the junction box on the wall. Use a voltage tester to make sure there’s no electrical current before putting the wires back into the junction box.

Image: Disconnect the Electrical Connection
3. Disconnect the Dishwasher Hose (If Connected):
If your garbage disposal is connected to a dishwasher, you need to disconnect it. Loosen the hose clamp attaching the dishwasher hose to the garbage disposal and remove the hose. Also, remove the pipe connecting the dishwasher to the side of the garbage disposal.
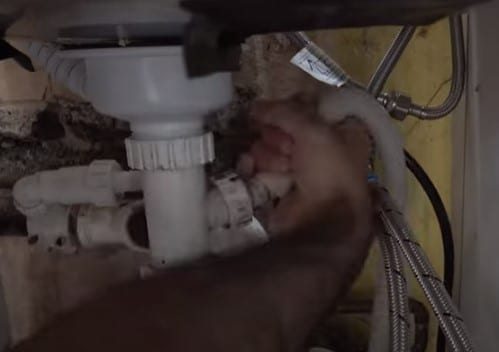
Image: Disconnect the Dishwasher Hose
4. Place a Bucket Under the Waste Pipe:
Put a bucket under the waste pipe as there may be liquid leftover in the pipe when you disconnect it, which will be caught in the bucket.
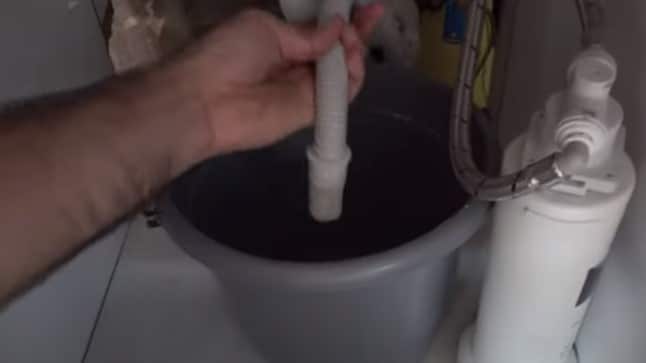
Image: Place a Bucket Under the Waste Pipe
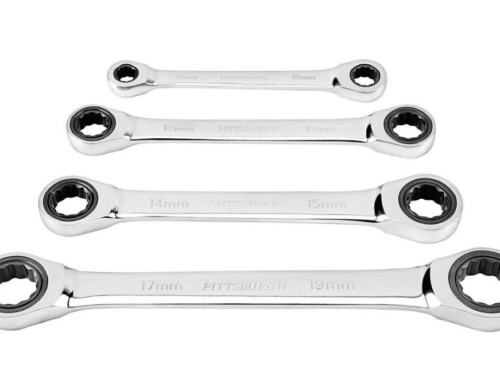
5. Disconnect the Drain Trap:
Use an adjustable wrench, pipe wrench, or tongue-and-groove pliers to remove the fittings that are on the P-trap (the U-shaped pipe that connects to the garbage disposal). Allow any water in the P-trap to drain into the bucket.
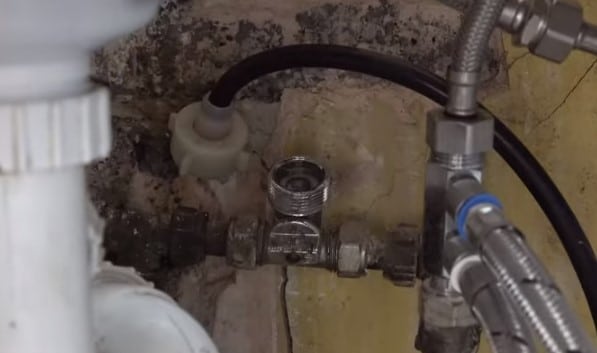
Image: Disconnect the Drain Trap
6. Remove the Garbage Disposal Unit:
Hold the underside of the garbage disposal to support it as it’s quite heavy. If it has a snap ring, insert a flat-head screwdriver under the ring to pry it open and off the flange. Some models might unscrew from the sink drain.
7. Detach the Mounting Assembly:
Remove the mounting assembly by first loosening the three mounting screws holding the upper and lower rings apart. Then remove the sink sleeve, flange, and fiber gasket. Clean out any remaining sealing gaskets, plumber’s putty, or debris from the sink opening.
8. Install a Basket Strainer (If not Replacing the Garbage Disposal):
If you are not replacing the garbage disposal with a new one, you’ll need to install a sink strainer or basket strainer in its place. Apply a ring of plumber’s putty under the lip of the basket strainer and fit it into the sink hole. Ensure that you have all the necessary parts including a new sink tailpiece and a continuous waste pipe.
Conclusion:
Remember to follow safety protocols throughout the process and consult an electrician.
Subscribe & Get Tools News
We do not spam. You can unsubscribe anytime


Leave A Comment