How to Use Shower Valve Socket Wrench?
Are you having problems with your shower valve? Did you know you can fix the shower valve of your bathroom by yourself? Yes, all you will need is the right tool for the job. In this case, that’s a shower valve socket wrench. Don’t have any idea about this?
Well, no need to worry at all. Here, I will be going through everything you need to know about the shower valve socket wrench. I will also discuss using a wrench for working on the shower valve.
So, if you are thinking about repairing your shower valve by yourself, stick with me till the end of this article. Let’s get started.

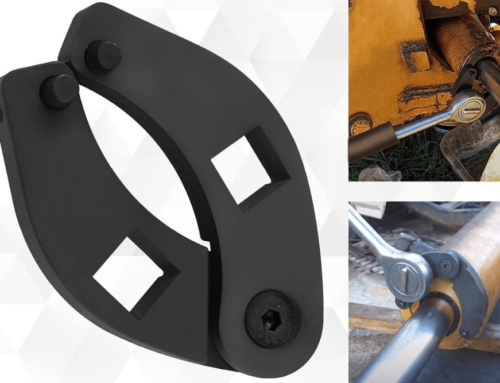
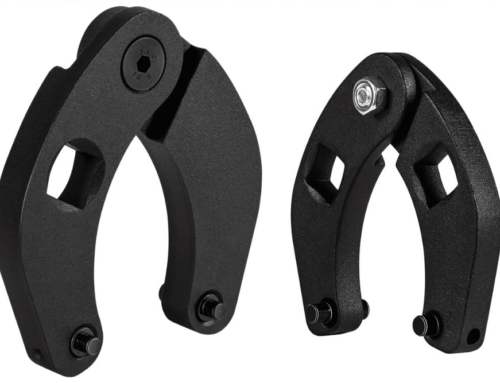
Image: Shower Valve Socket Wrench
What is a shower valve socket wrench?
This is a special type of wrench used explicitly for removing shower valves. It’s a female-type wrench, which means you have to put it inside the socket of your shower valve. Then, you can easily remove the socket without too much trouble at all.
It pretty much looks like a socket and has two ends to it. There are different shapes on the wrench like hex shape, circle, square, and whatnot. You have to ensure that you are getting the correct wrench shape matching the valve socket you have in your shower.
Usually, a valve socket wrench comes with a handle that you can use for turning the wrench in the clockwise or counterclockwise direction. The handle comes separate from the wrench. The wrench has a hole to put the handle on whenever you have to use the wrench.
How does the wrench work?
The working mechanism of the wrench is pretty straightforward. It works just like any socket wrench would. You insert the wrench into the valve socket and then turn it around to tighten or loosen it. You get a key or a handle that you can use for twisting the socket. I will discuss the proper method of using the wrench in a little bit.
There are no varieties in functionalities between the different wrenches. However, you may find variety in the sizes, which you need to consider before buying such a wrench.
Different shower valves can have different socket sizes. You have to find a wrench that is according to your valve socket. You can measure the diameter or take professional help if you want. You can also find the valve socket size in the manufacturer manual.
May Love to Read: Types of Wrenches and Their Uses
How to use the shower valve socket wrench?
Now, let’s take a look at the process of using a valve socket wrench to remove the shower valve socket. It’s pretty easy to follow through, so you won’t have difficulty using it
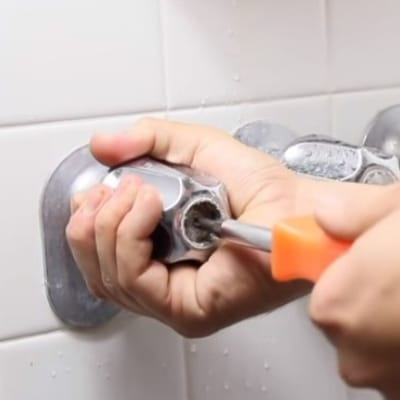
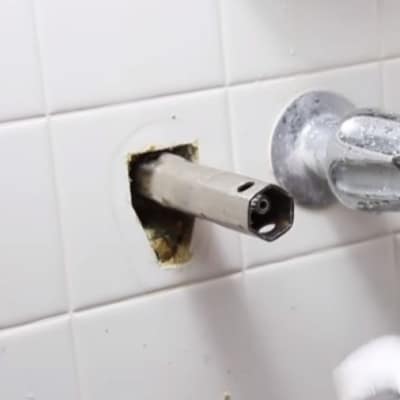
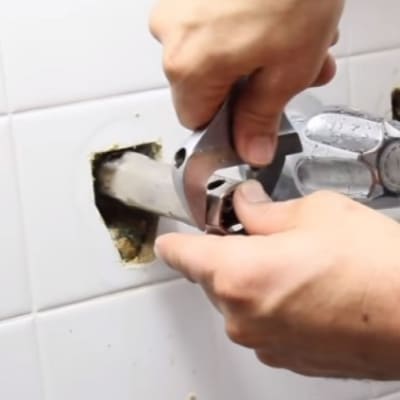
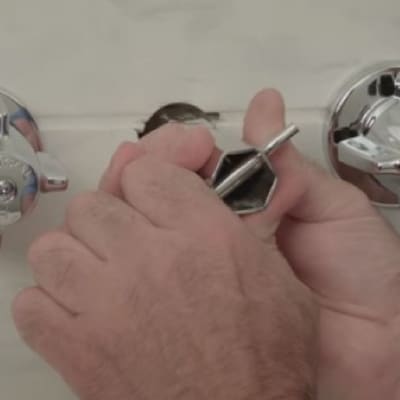
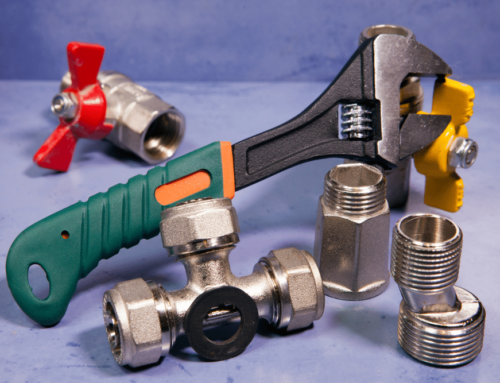
Image: How to use the shower valve socket wrench
- First of all, you have to cut off the water supply to your showers. This is very important as water can splash through when you open the shower valve.
- Next, you have to remove the handle cap of your faucet. Doing this will depend on what kind of faucet handle cap you have.
Sometimes you can easily remove the screw, and the handle cap comes off. Some handle caps are a bit harder than that to take off. You can refer back to the manual or take professional help to figure out how to remove yours.
- After removing the cap, you should also be able to remove the faucet’s handle. Once you do that, it exposes the packing nut and the valve stem of the shower valve.
- Next up, you have to take your valve socket wrench and find the correct end for the valve stem. Then, place it over the valve stem directly onto the packing nut. Make sure it gets in properly and stays still.
- Then, you have to insert the handle you get with the socket wrench into the hole on the opposite side.
- To loosen the nut, you simply turn the wrench clockwise using the handle. You may need to use a bit of force to loosen it up in the first step. Then, keep turning the wrench counterclockwise until the nut comes off the stem.
- Once the nut is loose enough to take out with your hands, you can remove the wrench handle and take the wrench out of the nut. Then, pull out the nut from the valve, and it should come off.
- When you are done working on the shower valve, you can simply put the nut back into the valve. Then, insert the wrench on the nut and turn it clockwise. This will tighten the nut.
That’s pretty much it for using a shower valve socket wrench. It’s very straightforward and has nothing to complicate. While tightening the nut, you are not overdoing it in some ways.
Also, when using the socket wrench, you must have the correct size. If the wrench is bigger, it will not fit in the socket and turn. And if the wrench is small, it will not get into the nut in the first place.
Is there any alternative to the shower valve socket wrench?
Well, the thing is, you can also use a regular adjustable wrench to get the job done. But this will be much more difficult than you would think. Because getting through into the valve socket with a regular adjustable wrench is hard. Sometimes, the wrench may not even fit properly into the nut.
Now, if you don’t have the option to get a valve socket wrench or don’t want to, you can try out a regular wrench. But if you’re going to make the process quick and easy, going for a shower valve socket wrench is the perfect solution for you.
Conclusion:
To sum up, using a shower valve socket wrench is the best option when you have to fix your shower valve, especially for those with a narrower or smaller size on the valve socket. You can’t use any other tool to remove the valve stem and get access to the different parts of the socket.
Subscribe & Get Tools News
We do not spam. You can unsubscribe anytime


Leave A Comment